Set Traces
A Trace is used to describe a relationship between two Document Objects. In Aligned Elements, traces are unidirectional, meaning that they always have a direction and point from the source Document Object towards the target Document Objects.
In Aligned Elements, traces can be set 1..1, 1..n, n..1, and n..n.
Note! Revision numbers of the Document Objects involved are not affected by adding and removing traces. It is required to add change comments when changing traces.
Adding and removing traces in the Document Object Form
When opening a Document Object in read mode, the incoming and outgoing traces are listed in the Trace From and Trace To tab at the bottom of the page. You can navigate to a traced Document Object by clicking on a row in these lists.
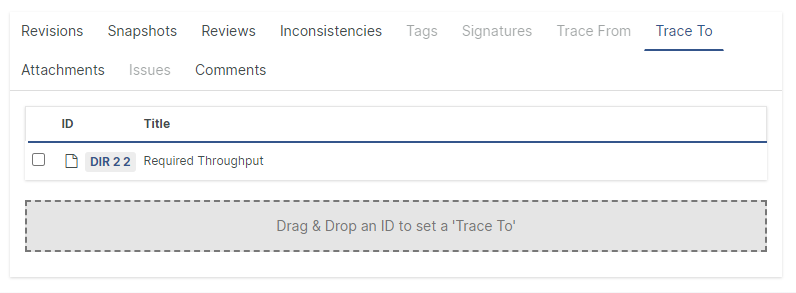
The Attachments and Issues tabs display outgoing traces to Attachments and Issues.
Add traces using Drag and Drop
You can add traces by dragging and dropping Aligned Elements ID:s in to the designated drop areas in the Trace To and Trace From tab pages.
If the drop areas are outside the visible screen, drag and hold the ID over the appearing Scroll to Dropzone area to automatically scroll the drop area into view.
Removing traces using Remove Trace button
You can remove traces by ticking the checkboxes in the Trace To and Trace From tab pages and then click on the Remove button.

Add and remove traces using the Action menu
To add or remove an incoming or outgoing trace, click the Actions button to access the trace setting options.
You can use the designated Trace To <type name> options for quick access to items of these types.
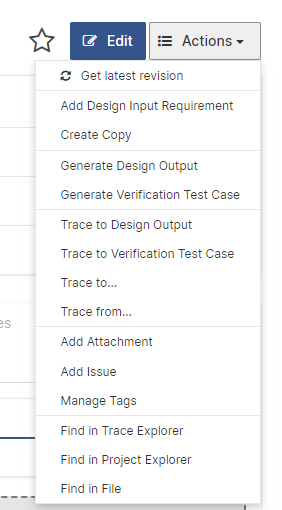
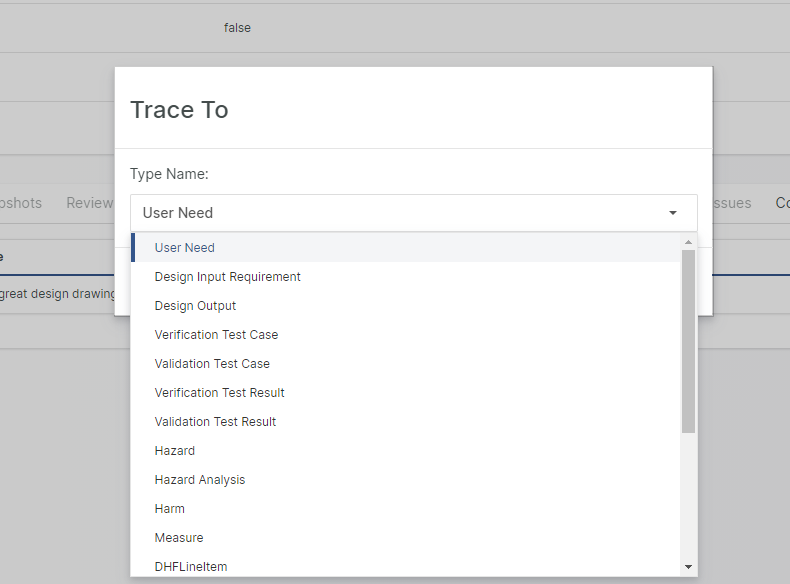
If the desired trace type is not available as a designated trace option, use the Trace To... or Trace From... menu item. After clicking the menu item, select the type name of the Document Object for which you want to manage the trace.
A list of all Document Objects is now displayed. You can click empty checkboxes to add traces or remove checks in selected checkboxes to remove traces.
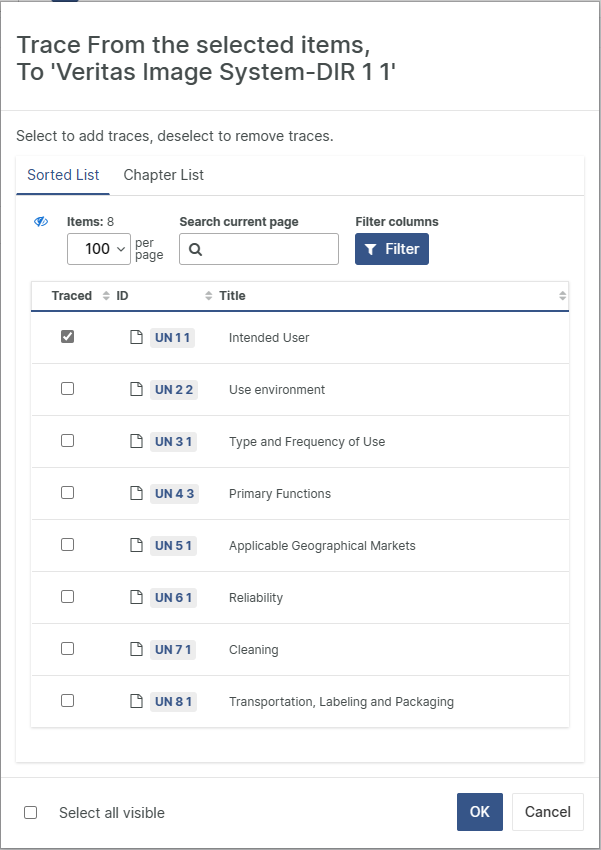
By clicking on the Chapter List Tab, the same items are displayed in their chapter structure. Select or deselect items to include in the trace set.
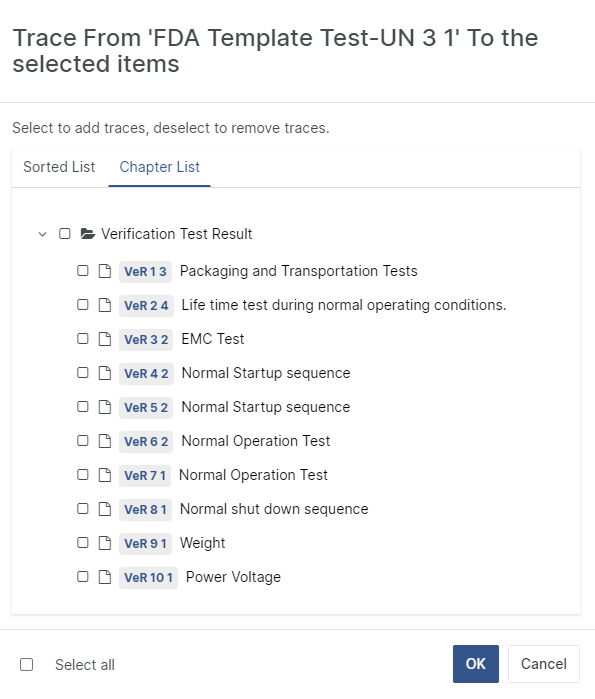
Click OK to commit the changes
After the commit, the new trace state will be displayed in the tabs at the bottom of the Document Object form.
When the Document Object is in edit mode, you can use Trace To in the Actions button to modify traces as described above. Note that the changed trace state is not committed until you commit the entire form and go back to read mode.
Adding and removing traces in the Chapter View
Click the Ellipsis button next to a Document Object to access the trace setting options. The mechanisms for adding and removing traces are the same as described above.
Adding and removing traces in the Trace Explorer
To add traces, select the Document Objects acting as a source in the trace relationship. Then click the Action button to access the Trace To... and Trace From... actions. The mechanisms for adding and removing traces are the same as described above.
