
Enter Design Control Items
Add a Document Objects
It is possible to create new Document Objects from several Views. Select Add <type of Document Object> in an Action dropdown or Ellipsis menu to create a new Document Object.
In the Document Object Form, you can see the current revision and all attributes associated with the document object.
The Document Object will automatically get the next available ID number.
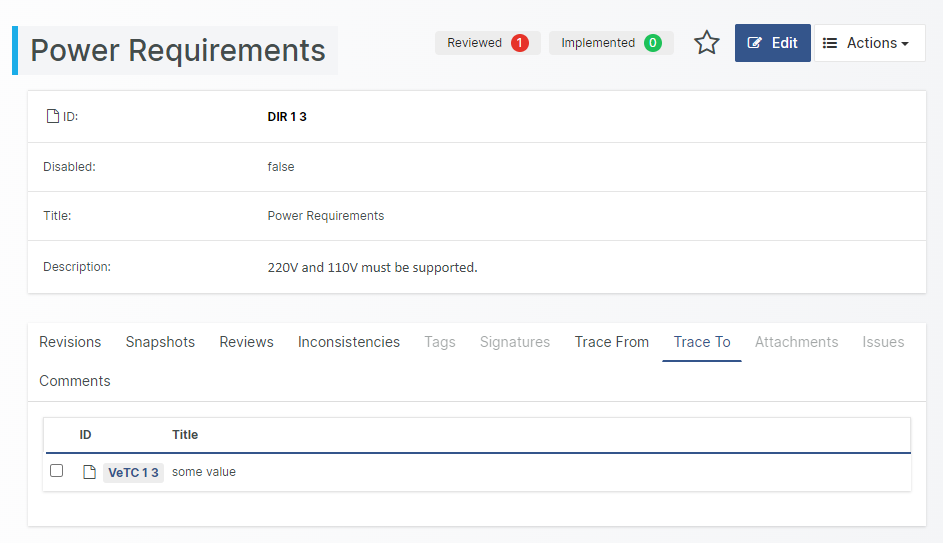
At the bottom of the Document Object form, meta-data about the current Document Object is displayed, including:
the Revision History for the object
the Snapshots that this document object is contained in
the Reviews in which the document object has been reviewed (including review state)
a list of the current Inconsistencies of the document object
a list of Tags which the document object is a part of
a list of the Signatures associated with the current document object
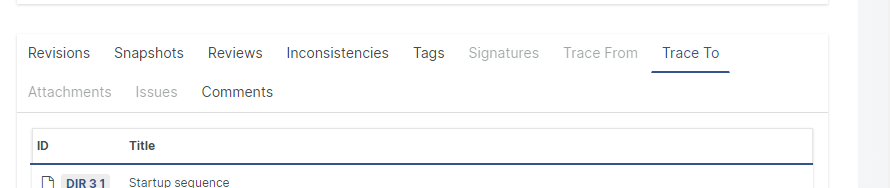
a list of document objects tracing to this document object
a list of document objects that this document object trace to
all Attachments that this document object traces to
all Issues (open as well as closed) that this document object traces to
a tab for discussing and collaborating using nested Comments
Saving a Document Object
When you have completed your changes in the Document Object form, click Save to commit your changes to the database or Cancel to discard the changes made.
As a part of committing changes to an existing Document Object, you will be requested to add a Change Comment which should state the reason as to why the changes were performed. This is done in the so-called Gap Form which also displays the changes you have made.
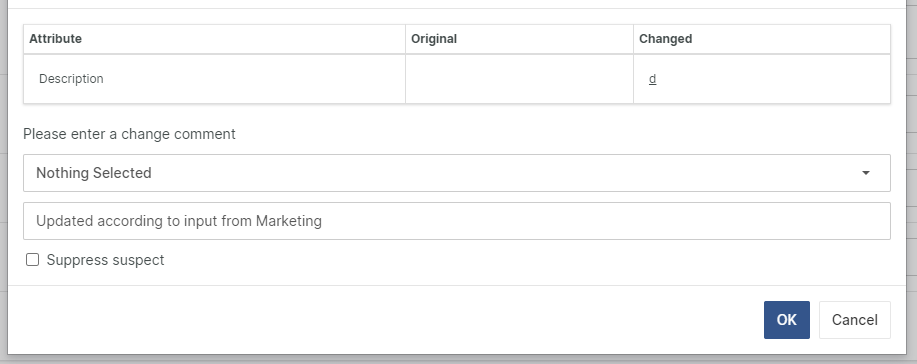
You can choose to reuse previously entered change comments from a dropdown list in the Gap Form.
Saving a Document Object will create a new Revision and, therefore, increase the Revision number of the Document Object ID.
Note! The Supress Suspect box is an optional feature, not swicthed on by default. It works as follows: After updating an item that has outgoing traces, these traces will be declared "suspect" (given that SuspectTraceRules have been configured for the parent and child type).
If you, when changing, know that the changes you create will have no impact on outgoing traces, then tick the Suppress Suspect checkbox to override the suspect tracing mechanism.
Edit a Document Object
Click on Document Object ID to navigate to the Document Object Form. Click Edit to open the Document Object form in Edit mode.
Note! Once a Document Object is opened in edit mode, the Document Object is locked for changes and cannot be edited by any other user until the Document Object is either saved or closed.
Revision History tab
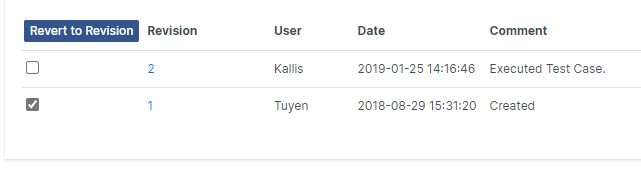
The Revisions tab displays the previous revisions of a document object, including data about when, who, and why the revision was made. Click on the revision number in the line item to open a previous revision. The revision of the document object will be displayed in read-only mode.
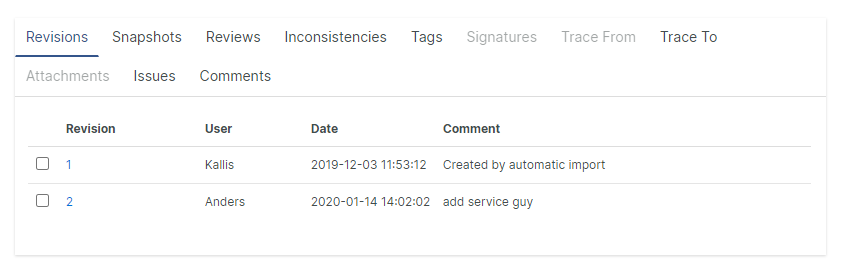
Note! The timestamp in the Revision history states the time when the user started to work on the revision. The timestamp of the corresponding event in the Project History, states the time when the user stopped working (i.e. Saved) on the revision.
When a Document Object of a previous revision is displayed in a Document Object form, you can click Get Latest Revision in the Actions dropdown to access
Note! Use mouse-hover on a user name in the User column to display additional information about the user in the Revision History.
Select two revisions in the Revision History and click on the Show Gap button to display the differences between the two revisions.
Revert to Revision
You can load attribute data from previous revisions by selecting two revisions, and click the Revert to Revision button. This will copy the attribute data from that revision to your current Document Object Form. This only applies to attribute data; not traces.
Note! The Revert to This Revision does not activate an old revision, only copies the attribute data from that revision to your current Document Object Form.
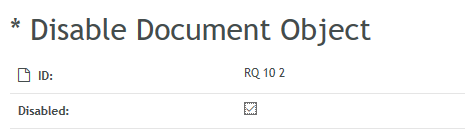
Disable Document Objects
In Aligned Elements, Design Control Items cannot be deleted. This in order to support regulations that demand full change control of all Design Control Items. However, it is possible to disable Document Objects, which removes the object from all Explorers, Views, and Lists.
To disable an object check the Disabled checkbox in the Document Object Form and press OK to save this change.
The disabled document object will then disappear from all Explorers.
Note! Traces to and from disabled Document Objects are not displayed even though they exist in the data structure (and will be displayed if a disabled Document object is enabled).
Note! Traces to disabled objects are not automatically updated to always trace to the most current revision; i.e., after enabling an object again, please revise all traces from the document object and if needed add traces to most current revisions.
To enable the document objects again, select the filter Disabled Objects in the Project History View. All currently disabled document objects are now displayed in the view.
Click on the history entry for the document object in the Project History View. In the Document Object Form, you may now enable the object again by un-checking the Disabled checkbox.
The enabled document objects will now appear in the Explorers again.
How to find disabled Document Objects
There are two ways to find/locate currently disabled Document Objects.
Last updated